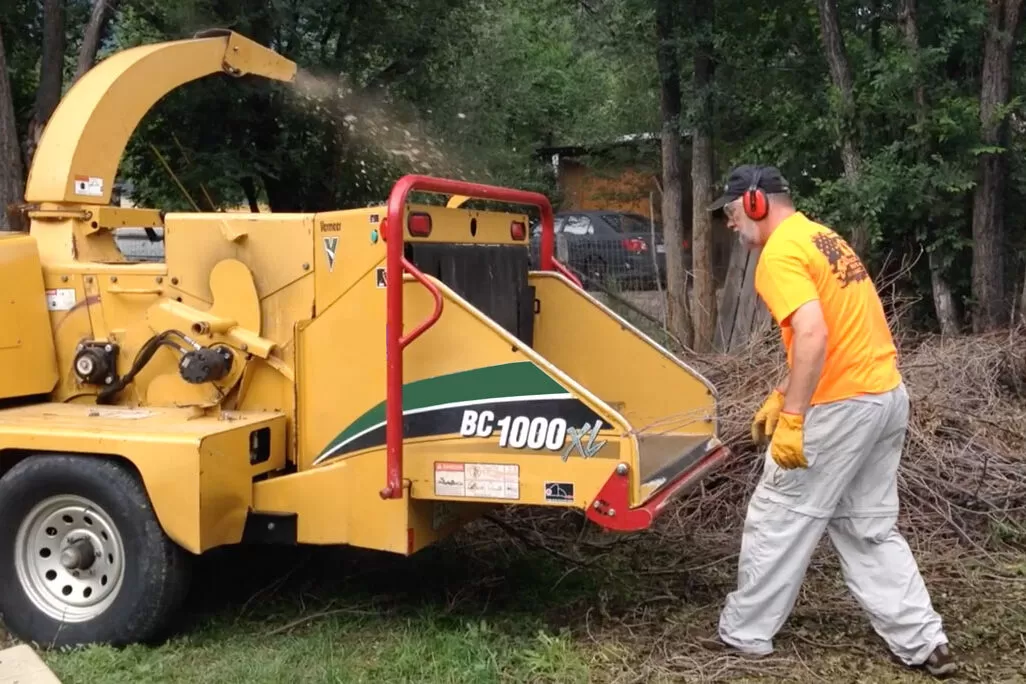
Clearing trees and brush creates a clean, open space, but everything you cut down must be dealt with. If you have a lot of brush, branches, and trunks to deal with, a tree chipper can offer a fast, compact solution to help you complete the job. Our 12” Tree Chipper can be towed behind your truck easily and backed up right into the action.
Grinding down branches and other brush into chips creates an opportunity to repurpose the trees as mulch, or makes the mess of tree clearing easier to manage by enabling the debris to be trucked away more efficiently. Understanding the proper way to operate, maintain, and transport our 12” Tree Chipper will ensure that you and your workers are kept safe and can complete your task without issue.
How to Safely Operate a 12″ Tree Chipper
Once you’ve pulled or backed the tree chipper into position, it’s important to complete a thorough walkaround to ensure that it is sitting on level ground and won’t allow any significant movement. For your own protection, be sure to equip yourself and your team with gloves, hearing protection, and safety glasses. Wearing the proper PPE around a tree chipper is crucial, and should never be overlooked.
- Before starting the chipper, ensure that the chute is facing forward and away from the rear.
- At the back of the chipper, release the locking mechanism on the feed chute and ensure the red safety bar is locked in the middle position. The rubber guards should be situated in front of the feed chute and remain as a barrier during operation.
- Turn the key to start up the chipper, and let it run for approximately 30-45 seconds to allow time for the mechanical components to warm up.
- Slowly engage the lever to lock it into the low idle with the clutch engaged so that the cutting wheel can ramp up to speed, then ease it down into the high mode position.
- At the rear of the chipper, press the green button to activate the feeding drum.
- Begin feeding limbs branches etc into the feeding drum. Be sure to remove all metal screws, nails, etc. before feeding to prevent damage to the cutting wheel.
- If a jam occurs, press the red kneebar to stop the feeding drum, then push the upper red bar to reverse the drum so that the object can be cleared safely. Once unjammed, return the upper red bar to the center position and press the green button to re-engage the feeding drum.
When you’re finished chipping, press the red bar to disengage the feeding drum and reverse the lever procedure at the front of the chipper – engage low mode to let the cutting wheel spool down, then pull the lever up into neutral and let it run for 2-3 minutes before turning the key off. It’s important to note that the feeding drum may take a while to stop spinning after shutdown. Lift up the rear gate and lock it into position, and you’re ready to transport the tree chipper to a new location, or back to one of our yards.
If it’s your first time operating the 12” Tree Chipper, Anthony’s 7.5 minute demo video will give you an overview of what to expect: at the time of your rental, our team will also train you on its use.
Benefits of Chipping Your Own Branches and Limbs
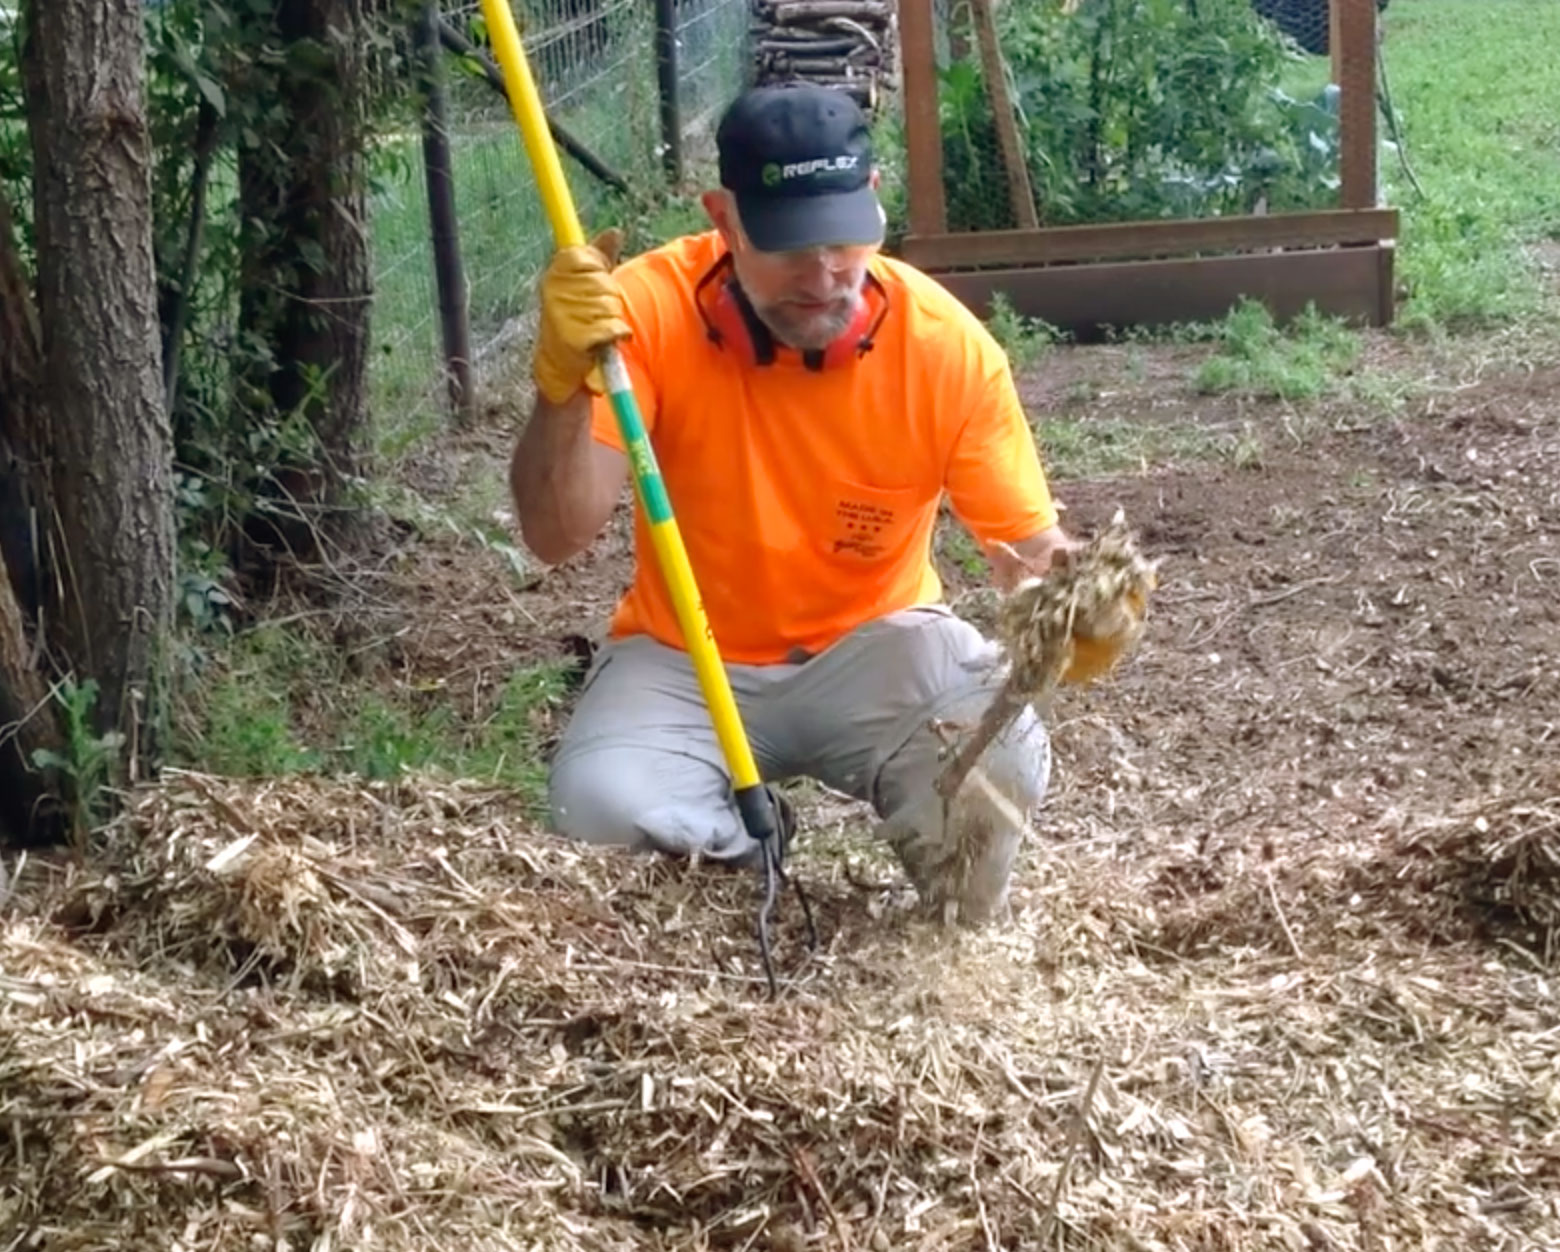
Besides clearing a pile of built-up brush, branches, and limbs, renting the 12” Tree Chipper can be a worthwhile venture as it provides you with the ability to create your own natural wood mulch. Natural mulch can be used in a variety of settings such as trails or as a playground base, with the largest benefit for your gardens. Mulch helps to keep the soil moist and prevents dry clumping. It also stops the sun from drying out your plants or burning them as they’re trying to grow.

Reserve a 12″ Tree Chipper From Bill’s Equipment & Supply
Since 1954, our team has been providing high-quality rental equipment to businesses and individuals in the Colorado Springs area, and it’s our goal to help you get your work completed as efficiently as possible. Contact Bill’s Equipment & Supply and reserve a 12” Tree Chipper today.


